


Reviews and corrects ledger-to-subledger alignment in D365 by fixing posting configurations, inventory profiles, reconciliation logic, GL mapping, and critical reporting procedures.
Microsoft Dynamics 365 for Financials – Set Up Dimensions
Posted on: April 10, 2017 | By: Jim Bertler | Microsoft Dynamics Business Central
To make it simpler to perform analysis on documents such as sales orders, a user can utilize dimensions. Dimensions are attributes and values that categorize entries so you can track and analyze them. For example, dimensions can indicate the project or department an entry came from. A user can set up dimensions in the Dimensions window, where one line is created for each dimension, such as Project, Department, Area, and Salesperson.
Setting Up Dimensions in Dynamics 365
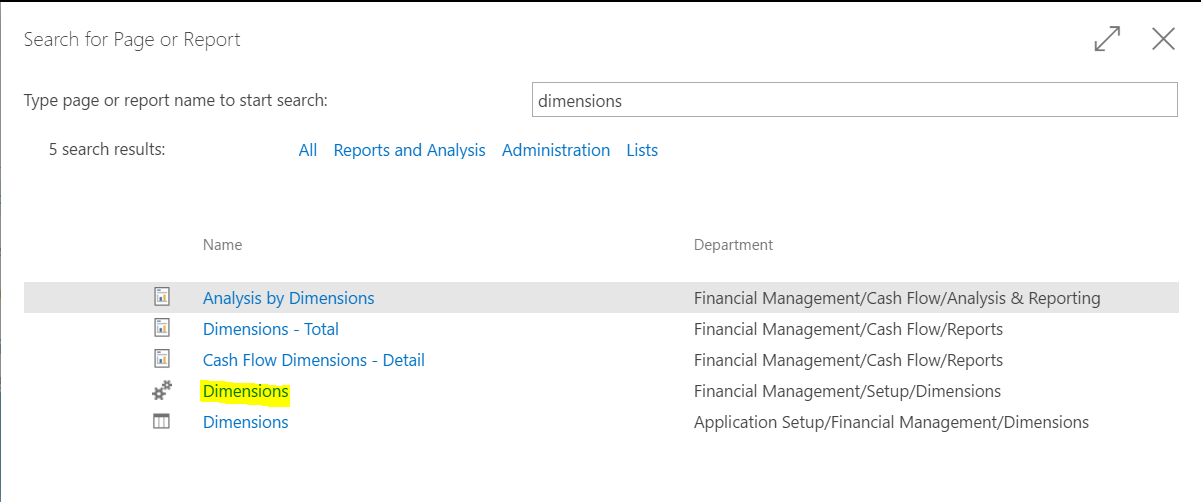
To set up dimensions, type dimensions in the search box in the top right corner. Click on the Administrative link located at Financial Management – Setup – Dimensions.
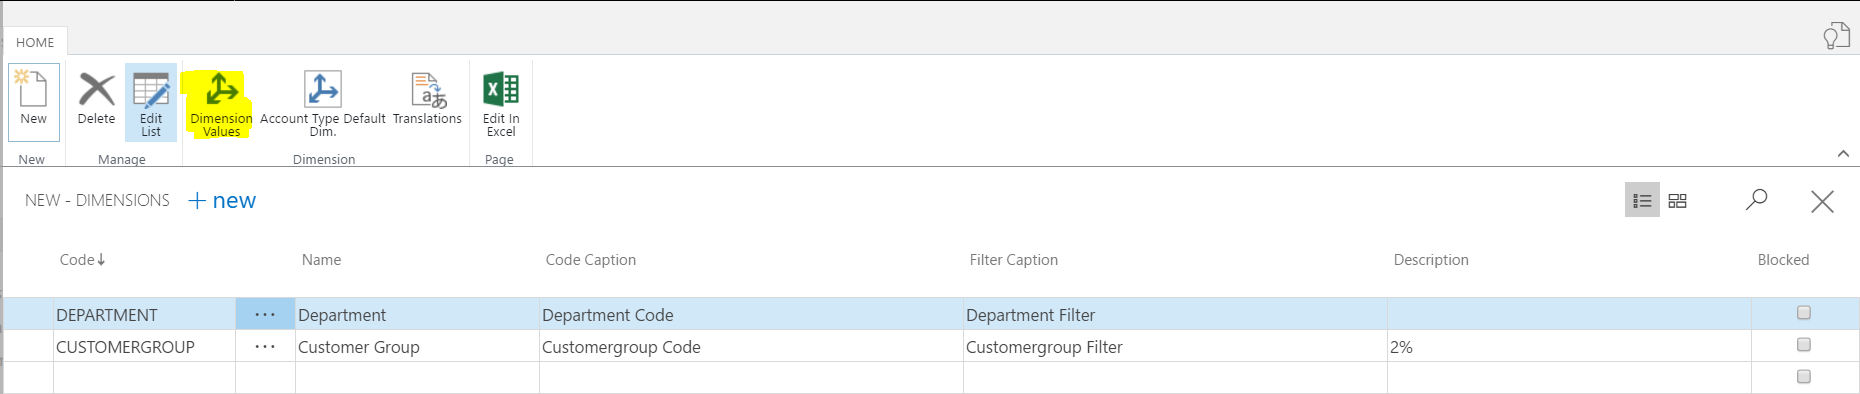
Click on the +new button to create a new dimension set. Assign a code and a name. Additionally, a code description and filter description can be added. The created dimension set should look something like below.

Once the dimension set has been created, highlight the row and click on Dimension Values in the ribbon.
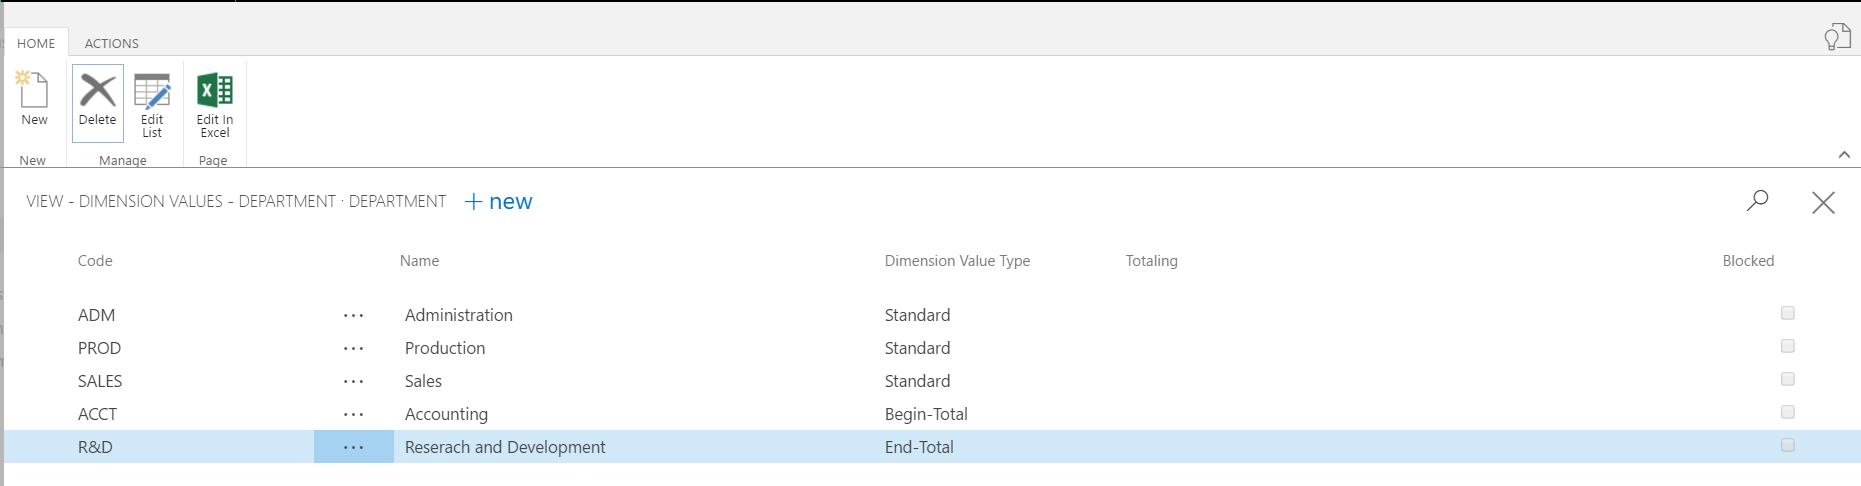
Enter all possible values for this dimension set. In this “Department” example, there are 3 departments that can be assigned. If totaling certain dimensions is necessary (e.g. several departments roll up into a larger department), then be sure to set the Dimension Value Type to Begin Total when the addition needs to start and End Total at the last value.
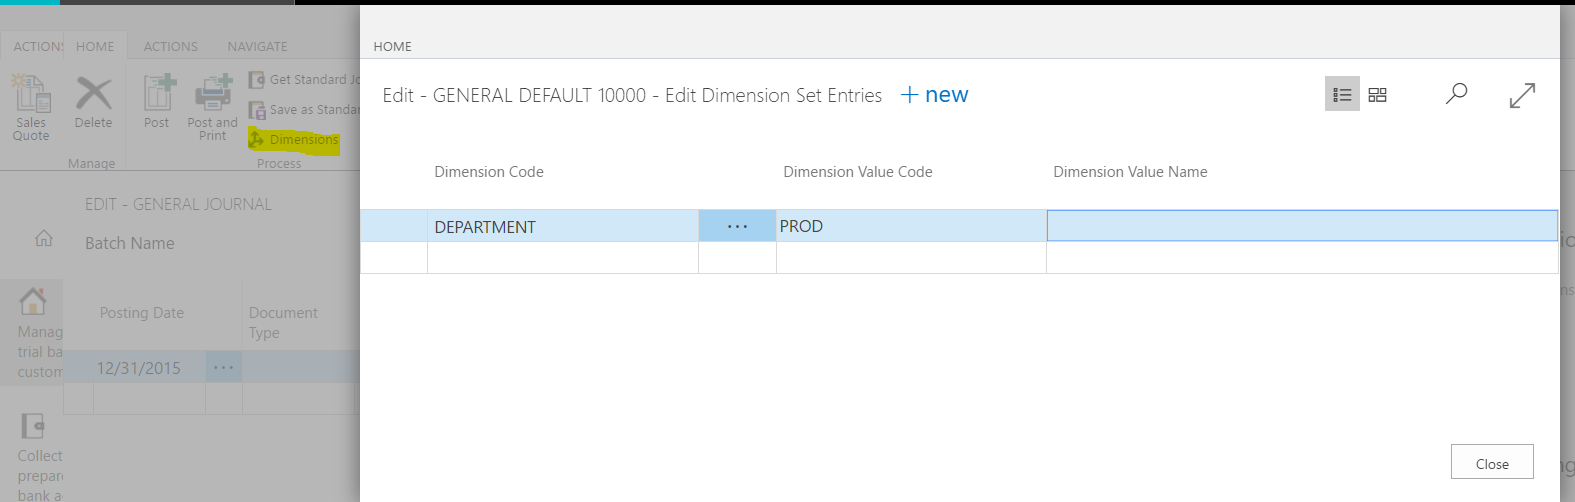
After the dimension values have been set up, they can be applied to a number of transactions, reports, and account schedules. Simply click on the Dimensions button in the ribbon on a screen (e.g. general journal entry screen) and add the dimension value that is desired.
For further questions regarding implementation and installation of your Microsoft Dynamics 365 solution contact, Logan Consulting your Dynamics 365 Partner of Chicago!


