


Reviews and corrects ledger-to-subledger alignment in D365 by fixing posting configurations, inventory profiles, reconciliation logic, GL mapping, and critical reporting procedures.
Microsoft Dynamics 365 for Financials – Create a New Vendor
Posted on: April 26, 2017 | By: Jim Bertler | Microsoft Dynamics Business Central
Vendors provide the products that you sell. Each vendor must be registered as a vendor card. Before new vendors can be registered, various purchase codes must be set up that are selected from when filling out vendor cards. When all the required master data is created, additional configuration can be performed, such as prioritizing the vendor for payment purposes and listing items that the vendor and other vendors can supply.
To create a new vendor card, choose Vendors on the homepage.

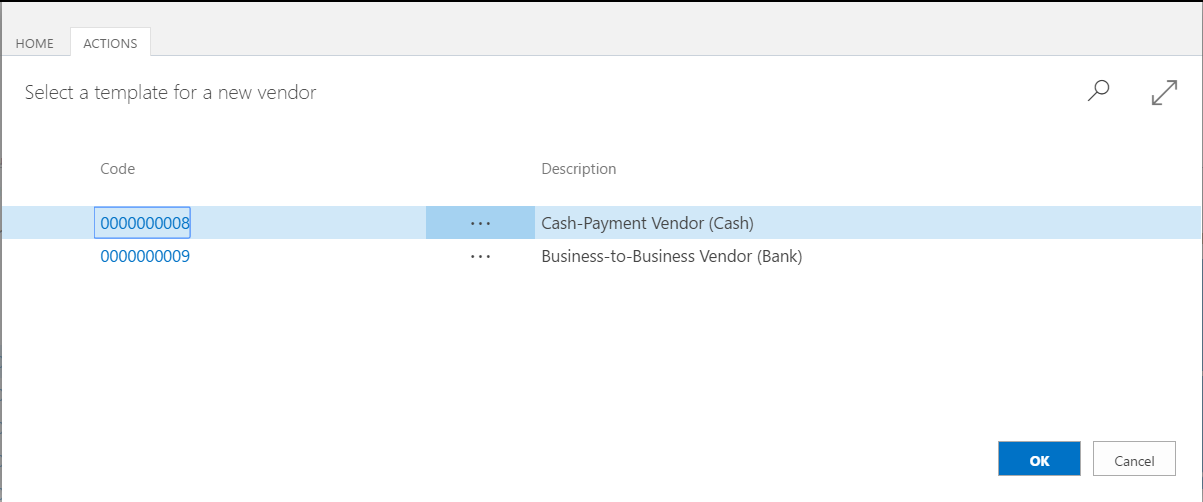
In the Vendors window, Choose +new. If more than one vendor template exists, then a window opens from which you can select a vendor template. In that case, follow these steps:
In the Select a template for a new vendor window, choose the template that you want to use for the new vendor card. Choose the OK button. A new vendor card opens with some fields filled with information from the template.
Proceed to fill or change fields on the vendor card as necessary. Choose a field to read a short description of the field or link to more information. Exit out of the card to save it.
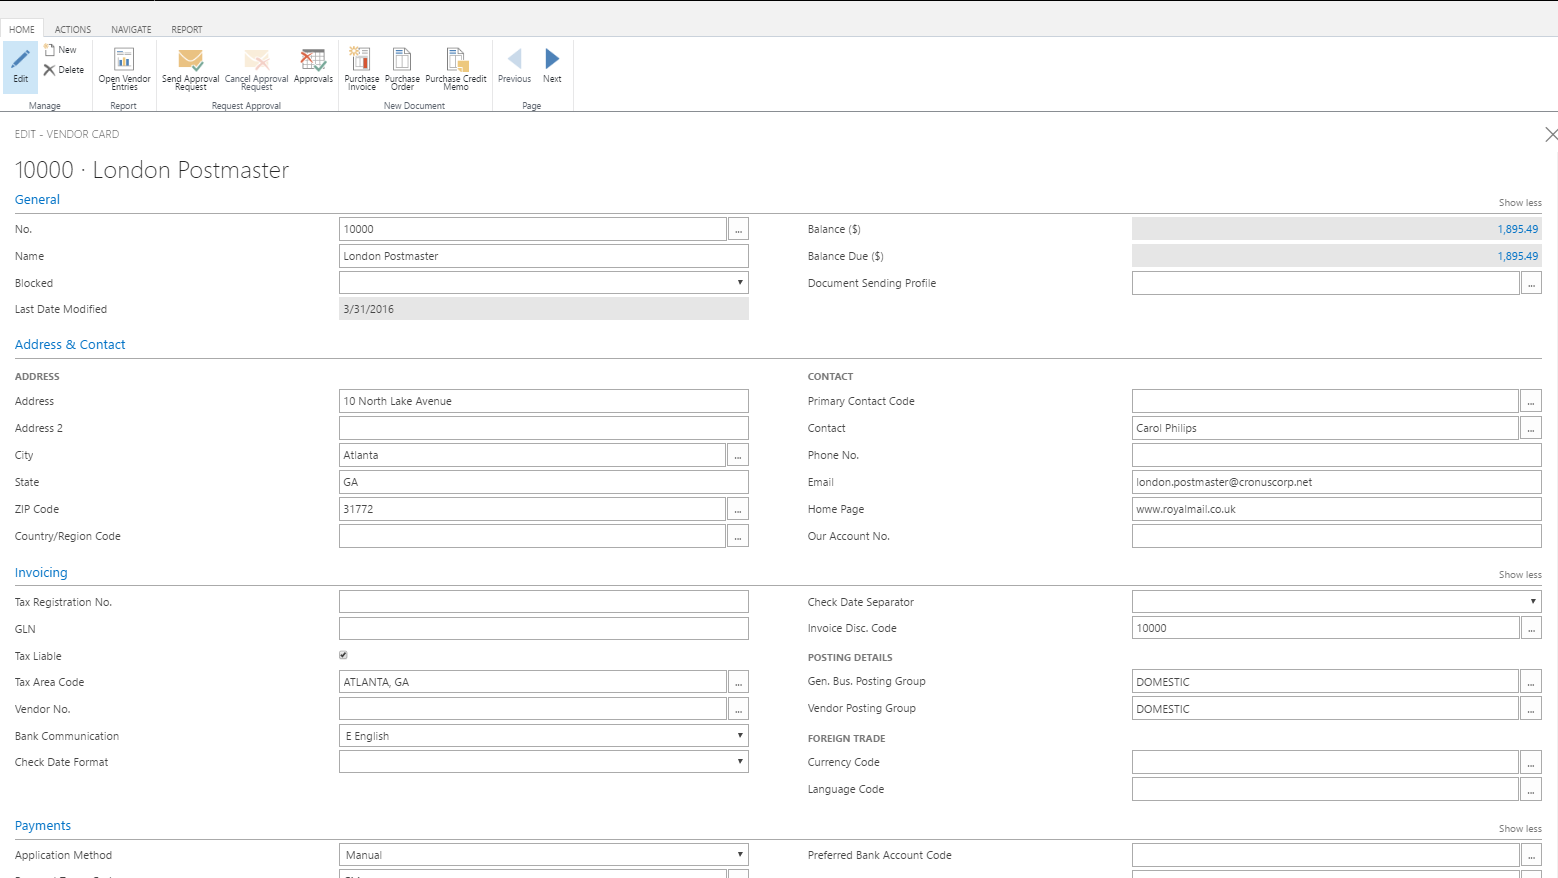
The vendor is now registered, and the vendor card is ready to be used on purchase documents.
If a user wants to use this customer card as a template, choose the Save as Template button in the Actions tab of the ribbon. This feature is useful when a certain group of vendors have specific attributes that are the same (e.g. most vendors have payment terms of Net 30).
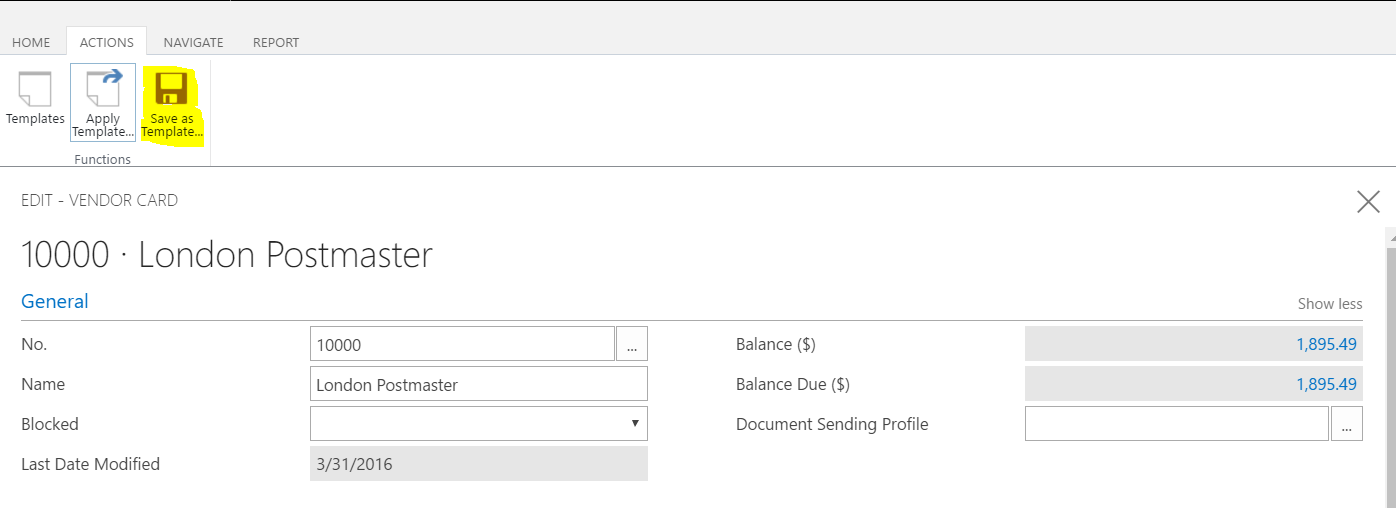
The Vendor Template window opens showing the customer card as a template.
Fill in the fields as necessary, just like creating a new vendor card. Choose a field to read a short description of the field or link to more information.
Once finished, exit out of the template.
For further insight on Microsoft Dynamics 365 installation and implementation contact Logan Consulting your Microsoft Dynamics 365 Partner of Chicago.


