


Reviews and corrects ledger-to-subledger alignment in D365 by fixing posting configurations, inventory profiles, reconciliation logic, GL mapping, and critical reporting procedures.
Power Apps with D365 F&O – Part 1
Posted on: January 3, 2022 | By: Kevin Gallagher | Microsoft Dynamics AX/365, Microsoft Dynamics Manufacturing
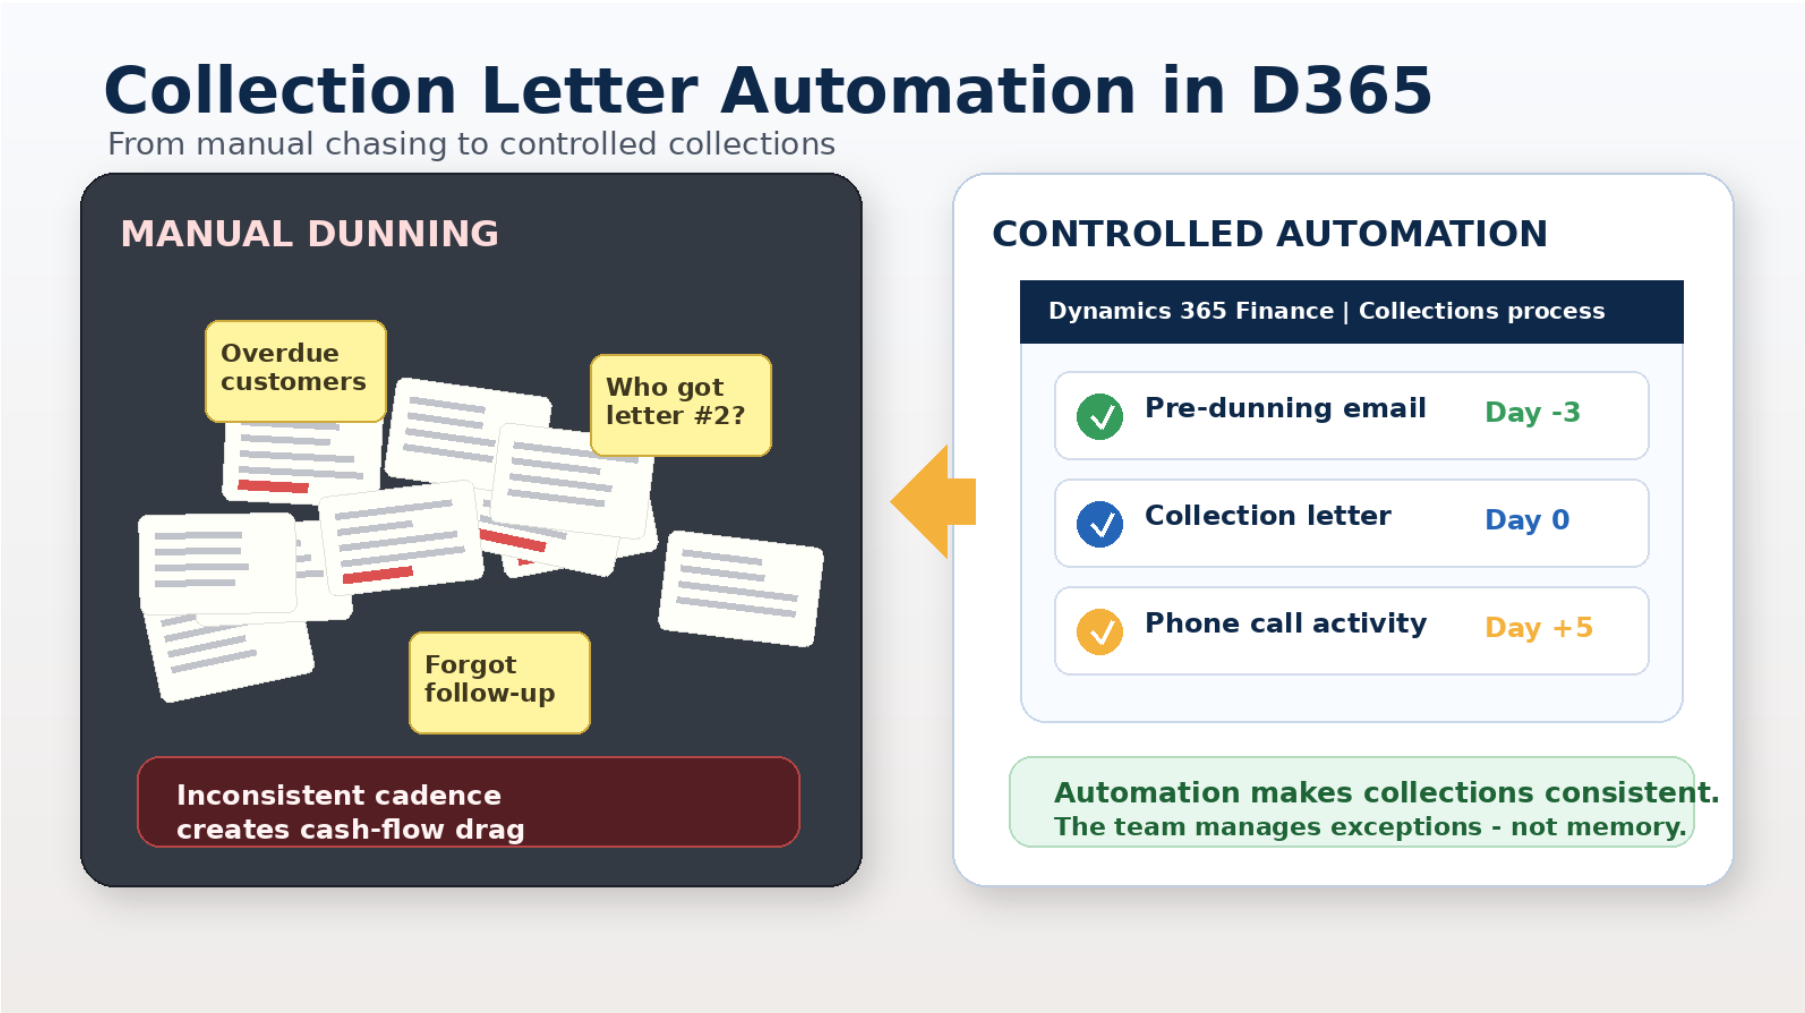
Power Apps with D365 Finance and Operations – Part 1: Getting Started
Did you know that D365 for Finance and Operations can be used with the Power Apps platform to create custom applications? PowerApps can leverage connected data sources from D365 to view, create and modify tables in D365.
Getting Started – Connecting D365 and Power Apps
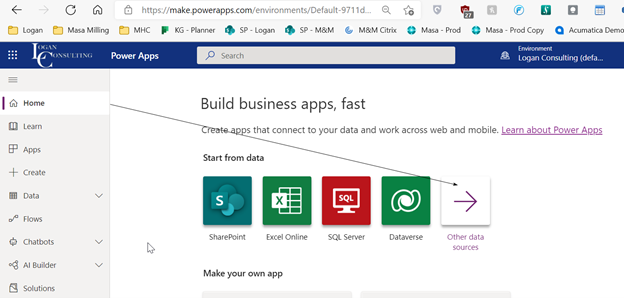
- Navigate to make.powerapps.com and login with your Microsoft Account.
- Most Microsoft business accounts include access to Power Apps

- From the Power Apps homepage, click on “Other data sources” from the Start from data section.
- Rather than creating a Power App from scratch, we will be using a specific D365 table as the basis for our app.
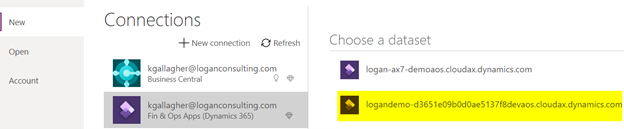
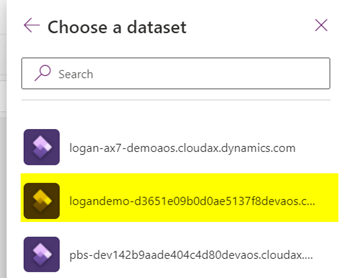
- Choose Finance & Operations and determine which dataset (environment) to connect to your Power App.
- Next, select a table to use as the basis for this app. For my example, I will be using the released products table (ReleasedProductsV2).
- Click Connect, Power Apps will automatically create a basic app based on the data source selected.

Developing the App
Now that the basics of the app are in place, we can begin to make changes, add features, and customize the look and feel. I cannot cover all customization options in detail in this blog, but will rather highlight some key features to help you get started.
Changing the Look and Feel
Many elements of Power Apps can be edited directly by clicking into fields or using the standard Microsoft Office toolbar we are all familiar with. For example, here are some easy modifications to get you started.
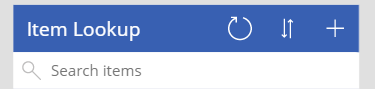
Updating a label
- Double click on a label and type in a new name
- The entered text updates the label once you hit enter
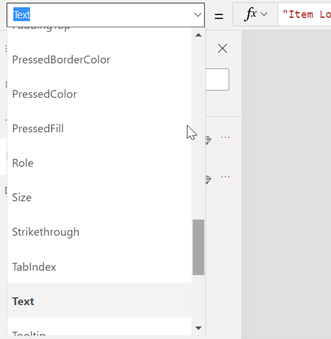
- You will also notice that clicking on a label brings up properties in the formula bar. You can change the Text value here as well as define many other attributes that you cannot modify directly through the UI.
- I will touch on additional properties in part 2 of my blog, but here are a few examples properties that can be modified for a given type of form part.
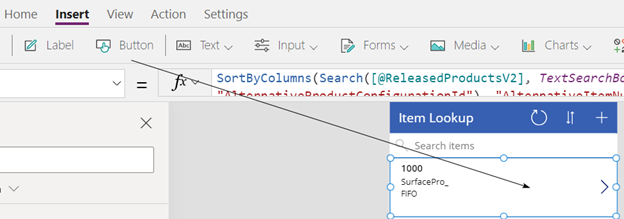
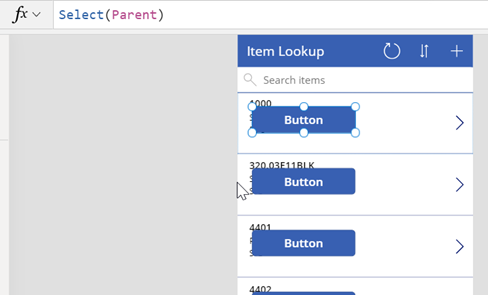
Insert Form Elements
- Click the Insert tab to view all available elements to add to your app.
- Before inserting, click into the location on your app you’d like to place the element.
- Now that I have the area of the app to place the element, I can click Button to add it to the form.
- A button has now been added to the form for each item displayed.
- From here, the basic properties of the button can be modified through the UI
- Drag and drop to move to a new location
- Resize using sliders
- Change the label text by double-clicking and typing

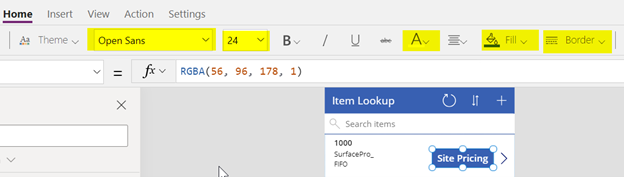
- We can also make simple look and feel changes with the toolbar.
- Change the fill or font color
- Change the font size or type
- Add a border
Adding a Data Source
To add functionality to the app, you may want to connect to additional data sources to display information not available on the first data source you connected to. In this example, I will connect to the Item Price table (InventItemPricesV2) to display item pricing info directly in my app. To add this or any other data source, follow these steps:
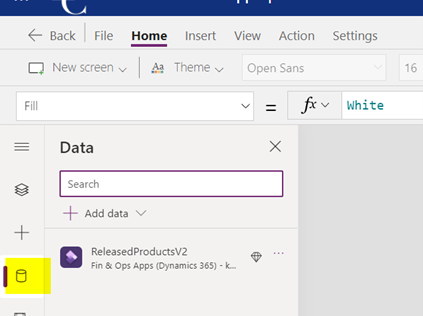
- Navigate to the Data tab on the left-hand side of your screen.
- Click Add data>Connectors>D365 F&O and choose the dataset (environment) to pull the data from.
-
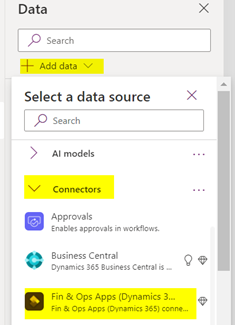
- This should be the same dataset used to create the app.
-
- Search for the table to add and click Connect.
- When in doubt, use the most recent version of a given data source.

- Now that we have connected to an additional table, it will appear in the Data tab as a connection.
- The associated data elements are now available to use within our app. For example, I added button to the home screen of the app that routes the user to a secondary view screen which shows item pricing filtered on the item selected.
Stay tuned for my next blog to learn how to use data sources with one another to add functionality to apps! Check out more Logan Consulting Blogs on our website!


