


Reviews and corrects ledger-to-subledger alignment in D365 by fixing posting configurations, inventory profiles, reconciliation logic, GL mapping, and critical reporting procedures.
Quickly Upload Vendor Data in Business Central with Excel
Posted on: October 31, 2018 | By: Guy Logan | Microsoft Dynamics Business Central
Authored By: John Hinchy
Microsoft Business Central is a great new product that allows for robust ERP/Accounting in the Cloud. Business Central is the rebranded Microsoft Navision that has been updated and moved to the cloud which is what users and companies have been wanting for many years.
With this new functionality, there is definitely a learning curve in how to use the system, navigate through the functionality, and get all your data uploaded into the system. In this blog I’m going to cover the basics of data loading, in this case as it pertains to Vendors. While there are a few ways to upload data, many people prefer the Excel Add-In. For many users, much of their work is done on excel spreadsheets and this is the form of data gathering they are used to. Business Central has come up with a feature that adds a program directly into your excel workbook that requires no install or work by the Business Central user. This program allows for data refresh and publishing directly into Business Central directly from Excel.

In this example, pull up your Vendor list in Business Central. This can be done quickly by going to the search bar (now the lightbulb in the top right of your screen). Quick note, if ever in doubt about where to find something, use your light bulb search bar, anything can easily be found through there. You may already have Vendors loaded, or you may have no Vendors loaded, with your import of data you can either add new or overwrite existing Vendors. Click the Edit in Excel button indicated by the excel icon to download the excel sheet. Once this is opened, click Enable Editing, and you will see the excel add in appear.
Upon opening your excel document you may have to sign in to your Office 365 Account. This will be the same sign in as your Business Central log in.

From here, if you have Vendors listed already, they will appear on your page. If you need to add new Vendors, you can add them to this excel spreadsheet by copy and paste. It may be helpful if you already do have a few Vendors listed, because this can serve as a guide on which fields on the spreadsheet need to be filled in for a successful upload. Note there there are many fields on this excel extract from Business Central and not all, actually very few, fields need to be populated for a successful import.
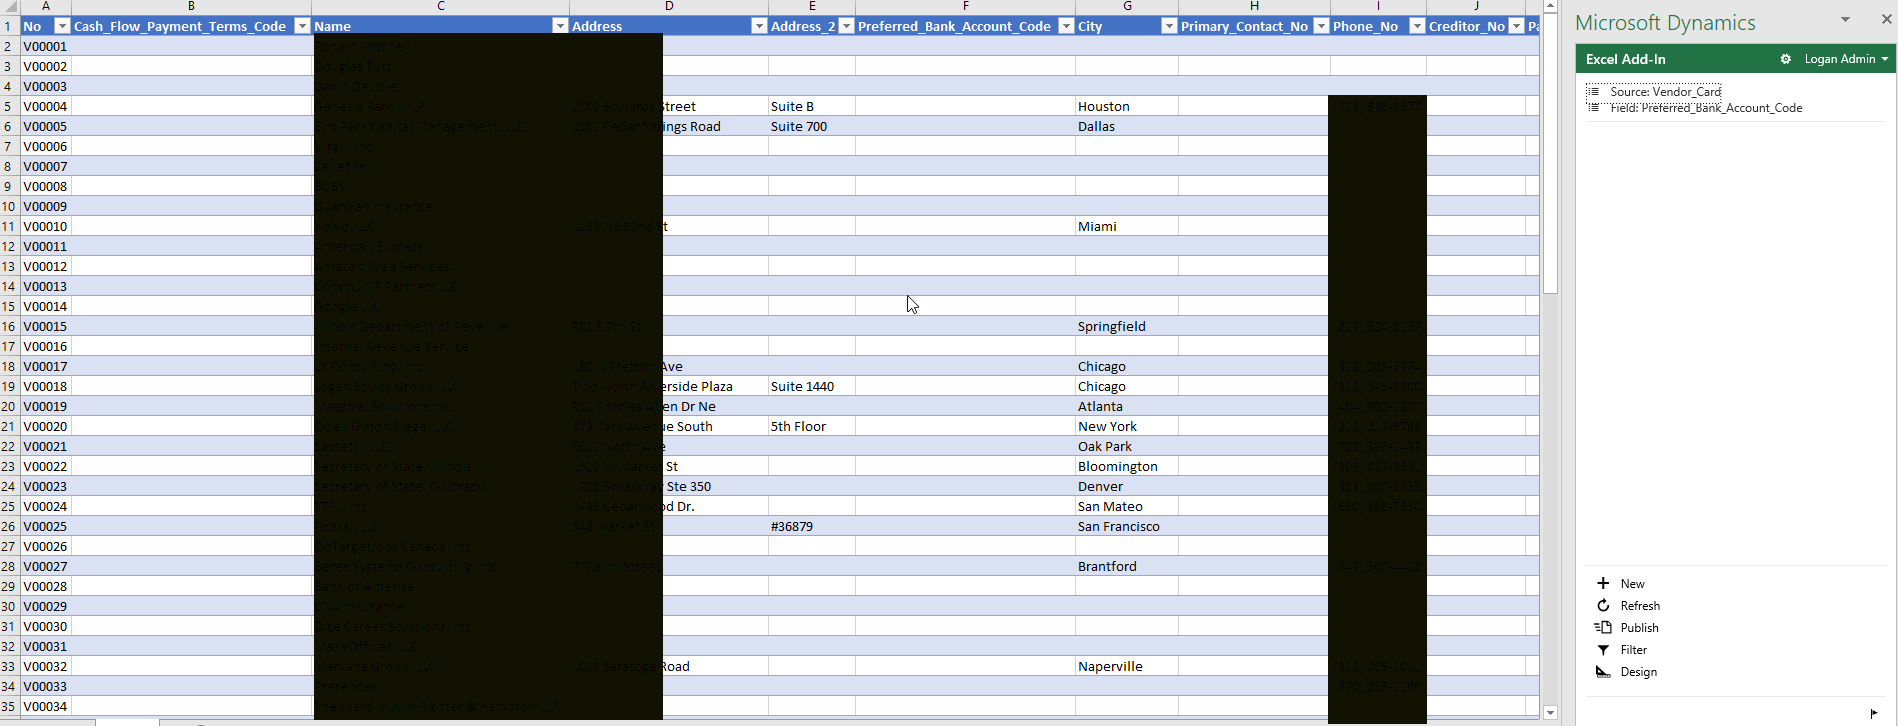
Once you have added your Vendors onto the excel sheet, use your excel add in on the right. Click the Publish button once ready to send to Business Central. Once you click, this will run in the background for a few seconds, if any errors occur, you will see a message letting you know which lines errored out and the message will tell you why and how to fix it which is another great feature of the program.
If you think that a CRM system is your next best step for your business, contact Logan Consulting your Microsoft Dynamics CRM partner of Chicago.


