


Reviews and corrects ledger-to-subledger alignment in D365 by fixing posting configurations, inventory profiles, reconciliation logic, GL mapping, and critical reporting procedures.
Create a 12 Period Income Statement in Business Central
Posted on: May 22, 2021 | By: Minela Covic | Microsoft Dynamics Business Central
Business Central allows for flexible financial reporting. Setups are typically easy and can be done by users without any development experience. Column layouts are where the periods of time are defined for financial reports. In this blog, you will learn how to create an Income Statement with 12 periods.
Begin by creating a new column layout:

Edit the column layout. Assign Column Numbers and Column Headers. Choose “Net Change” as the Column Type.
Under the Comparison Date Formula, enter -1M, -2M, etc. until you reach the last period.
Optionally, add a totaling line with Column Type “Formula” and add up all the months by referencing the Column Numbers.

Print the report by going to Account Schedules. Select the Account Schedule for your Income Statement and the Column Layout you just created. Filter the date for the year you are viewing.

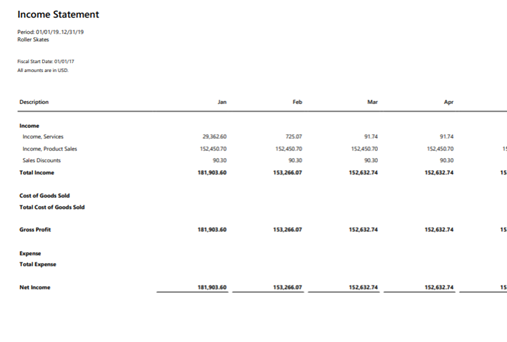
When you print the report, you will see the report with columns by month:
Next Steps
If you have any questions about adding side panels in Acumatica, or if you are interested in Acumatica’s next-generation ERP solutions, Logan Consulting is here to help. Contact us today to find out how we can help optimize your business.


